
Amazon A+ Content
Terry Odell
 Recently, Amazon, in an unusual gesture to all indie authors, not only those participating in its “Select” program, opened what it calls A+ content to anyone using KDP to publish. Previously, only traditional publishers could use the feature.
What is it? It’s content that appears on the book’s detail page on Amazon, and provides additional information, allowing authors to give potential readers a deeper look at the author and their work.
Curious (or procrastinating work on the WIP?), I gave it a look.
Amazon has its own “how to” but I thought I’d run through my experiences here. Note: I’m not much of a techie, but I’m willing to try new things. This post is more of a starting point than a tutorial.
Here we go:
(Click on any image to enlarge.)
From your KDP Dashboard, click the “Marketing” tab at the top.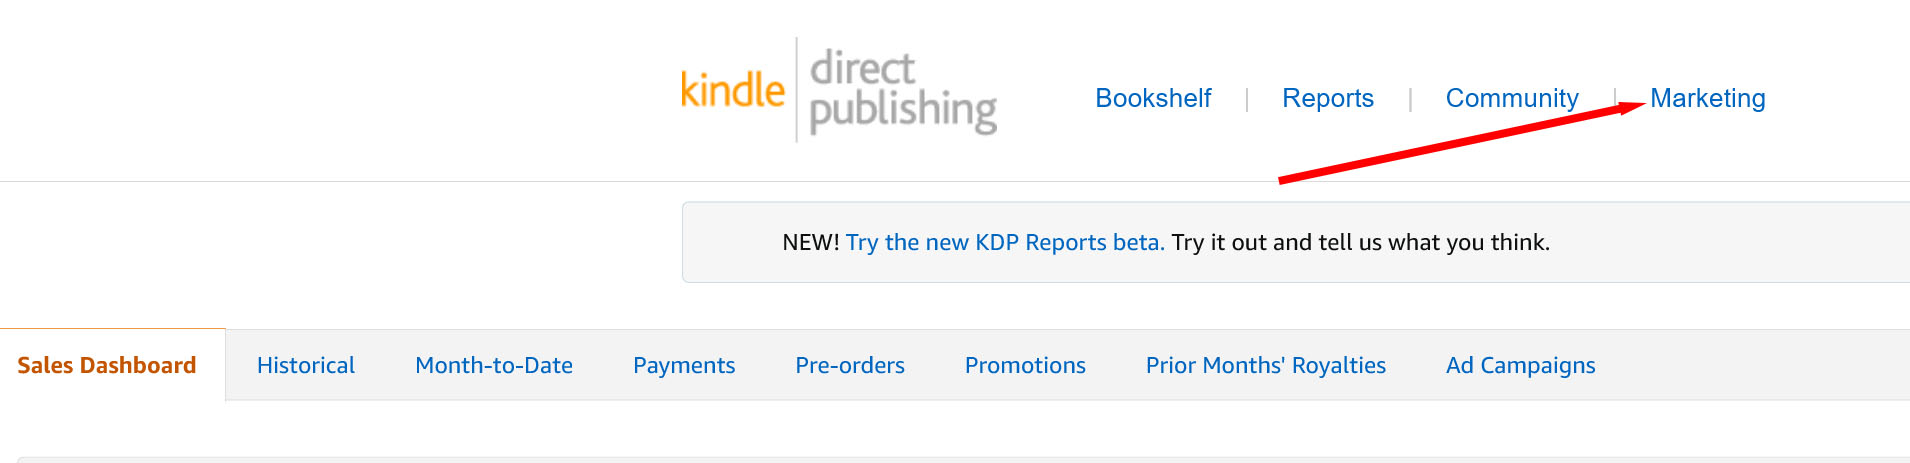 Scroll down to the A+ Content section, and click the down arrow for marketplace. I stuck with Amazon.com for starters, but if you don’t choose one, you can’t move on. (You have to do this every time you come back to work on a project.)
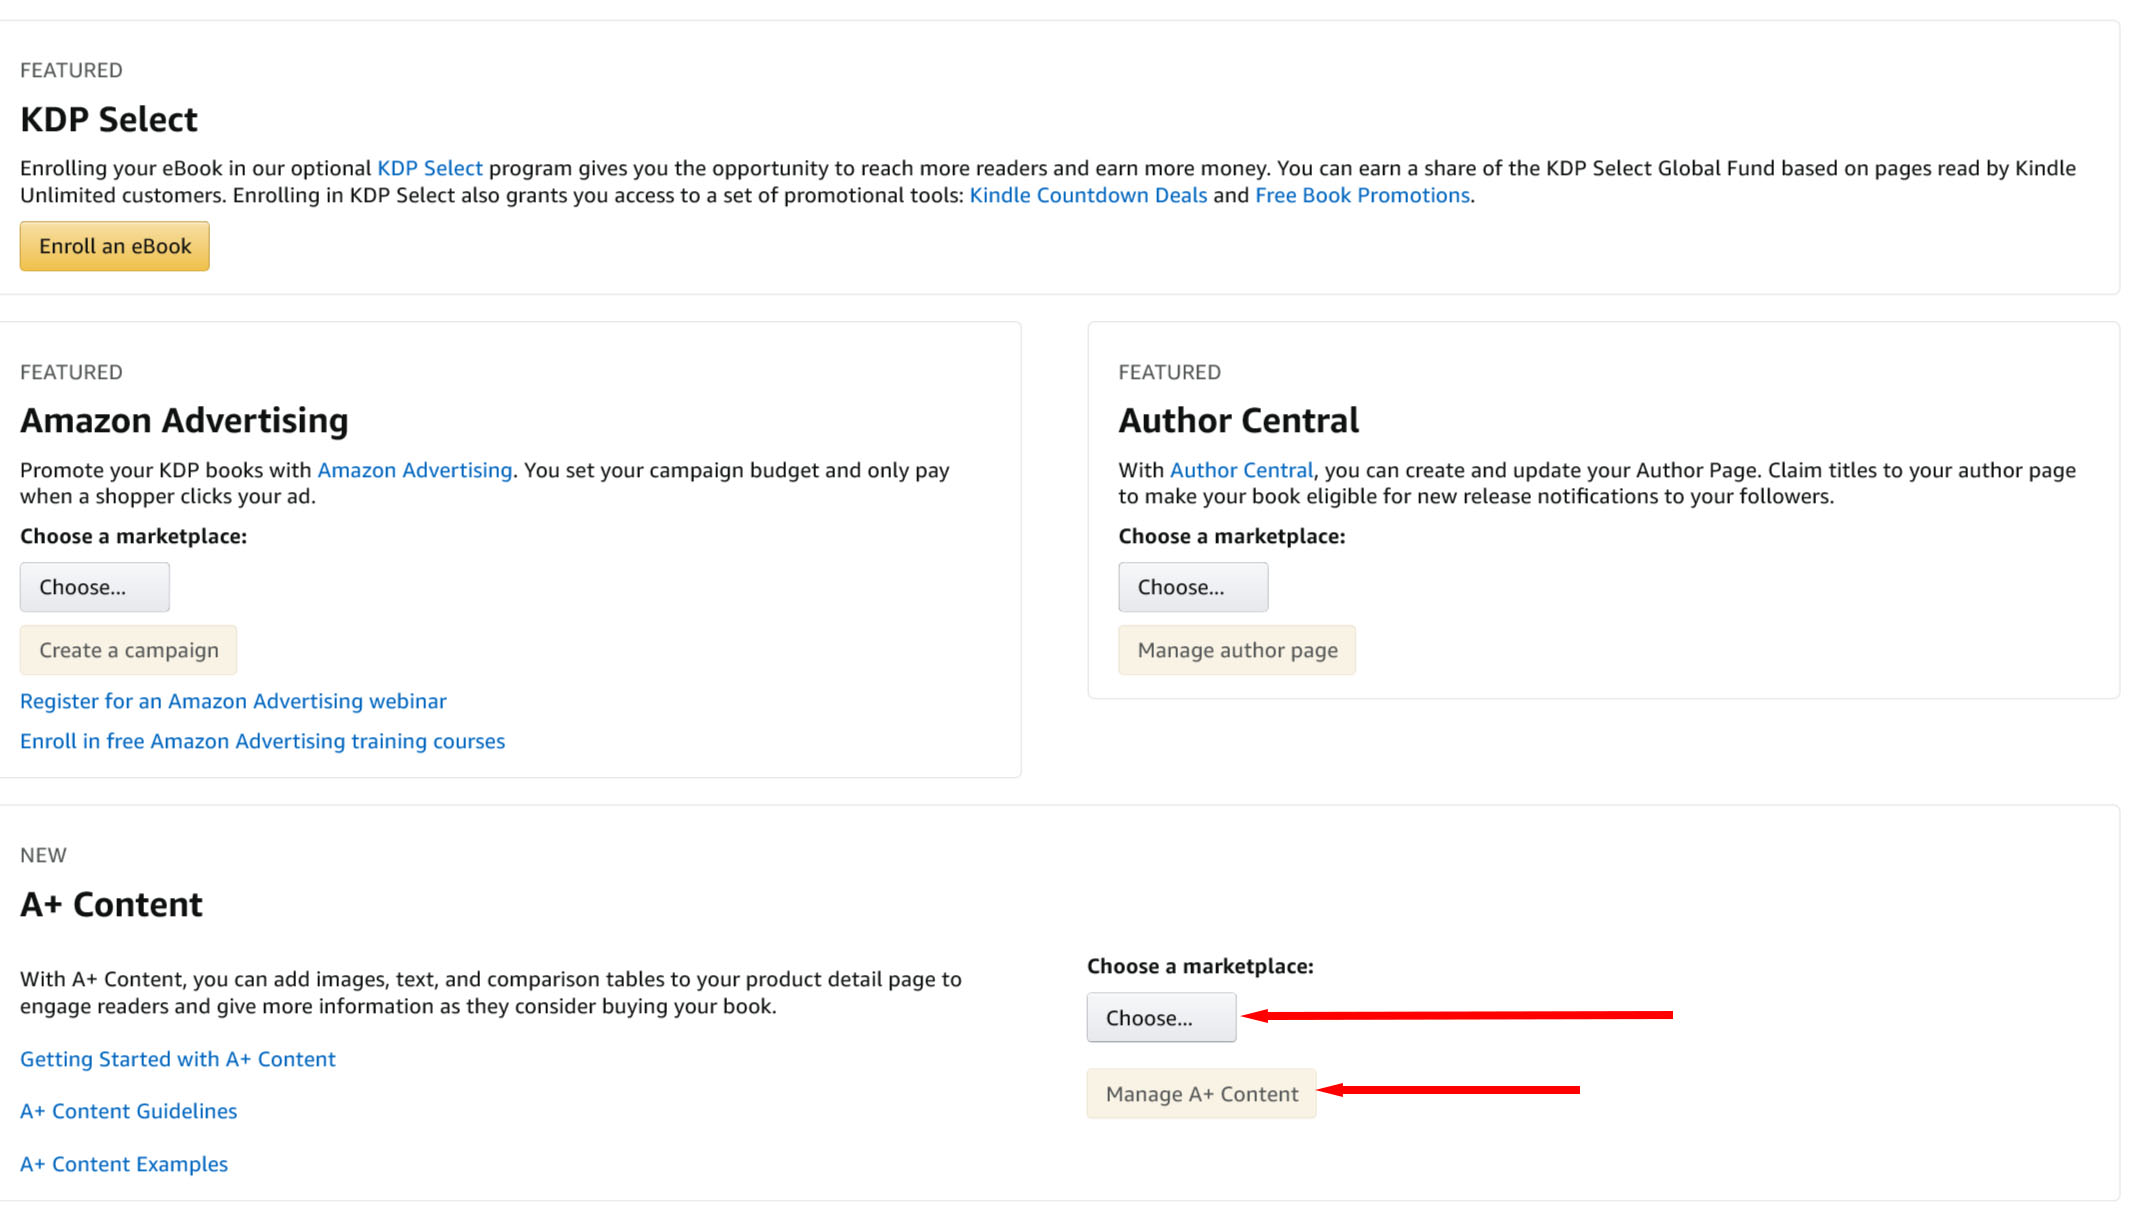 Then, click the Manage A+ Content button right below the marketplace.
On the next screen, at the far right, there’s a “Start creating A+ content” button on the right. After trying other options, such as searching for an ASIN, or even plugging in an ASIN, I found this to be the most efficient.
 After that, you assign your content a name. It doesn’t show anywhere; it’s so you can keep track. I used the name of the book I was creating the content for. Duh.
I suggest studying their module examples. They’re not completely user-friendly, but they are a good starting point for how each module works. Just beware. Every module has its own set of rules as to what you can add and where it has to go. Their suggestions aren’t always the best for what you want to do. I’ll go into this in more detail later in this post.
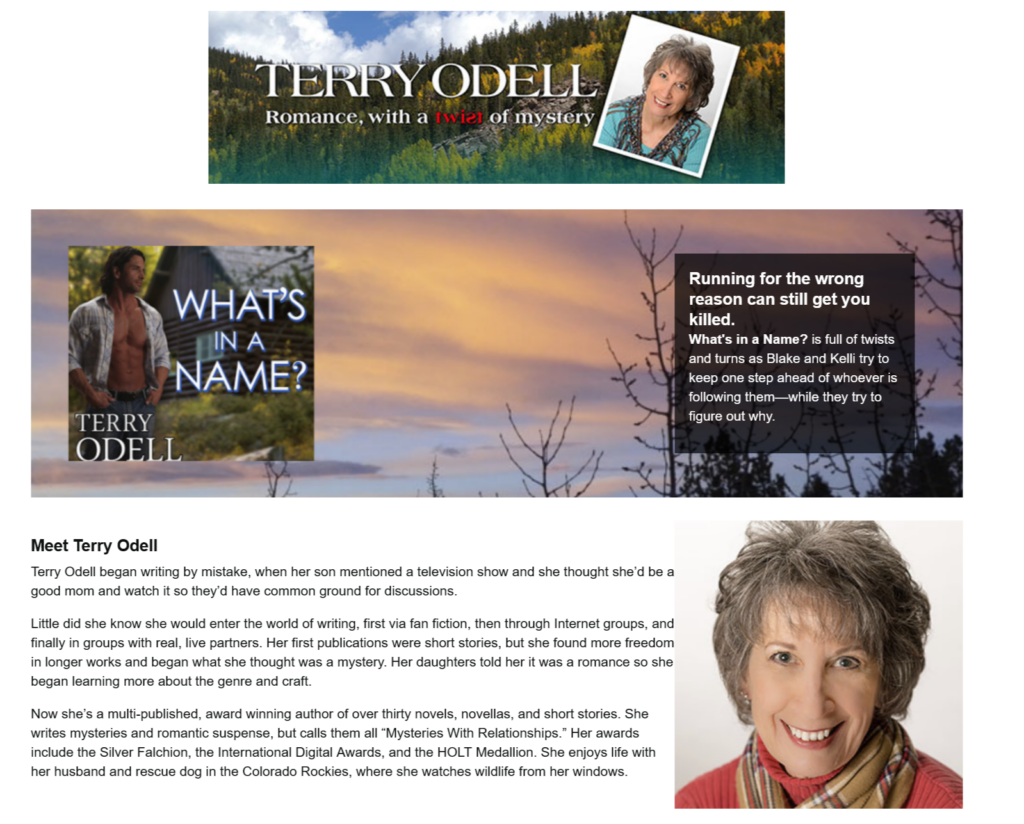
Then, you click the “Add Module” and the fun begins. For starters, it’s best to stick to no more than three. For “branding” purposes, I am using my website header from the “Standard Company Logo” Module for all the content I create, although I had to resize it to the required 600×180.
Some Examples
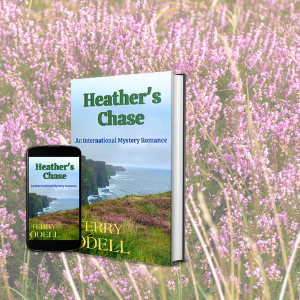
My advice is to start with something simple. I chose two of my stand alone books, Heather’s Chase, and What’s in a Name? to practice on.
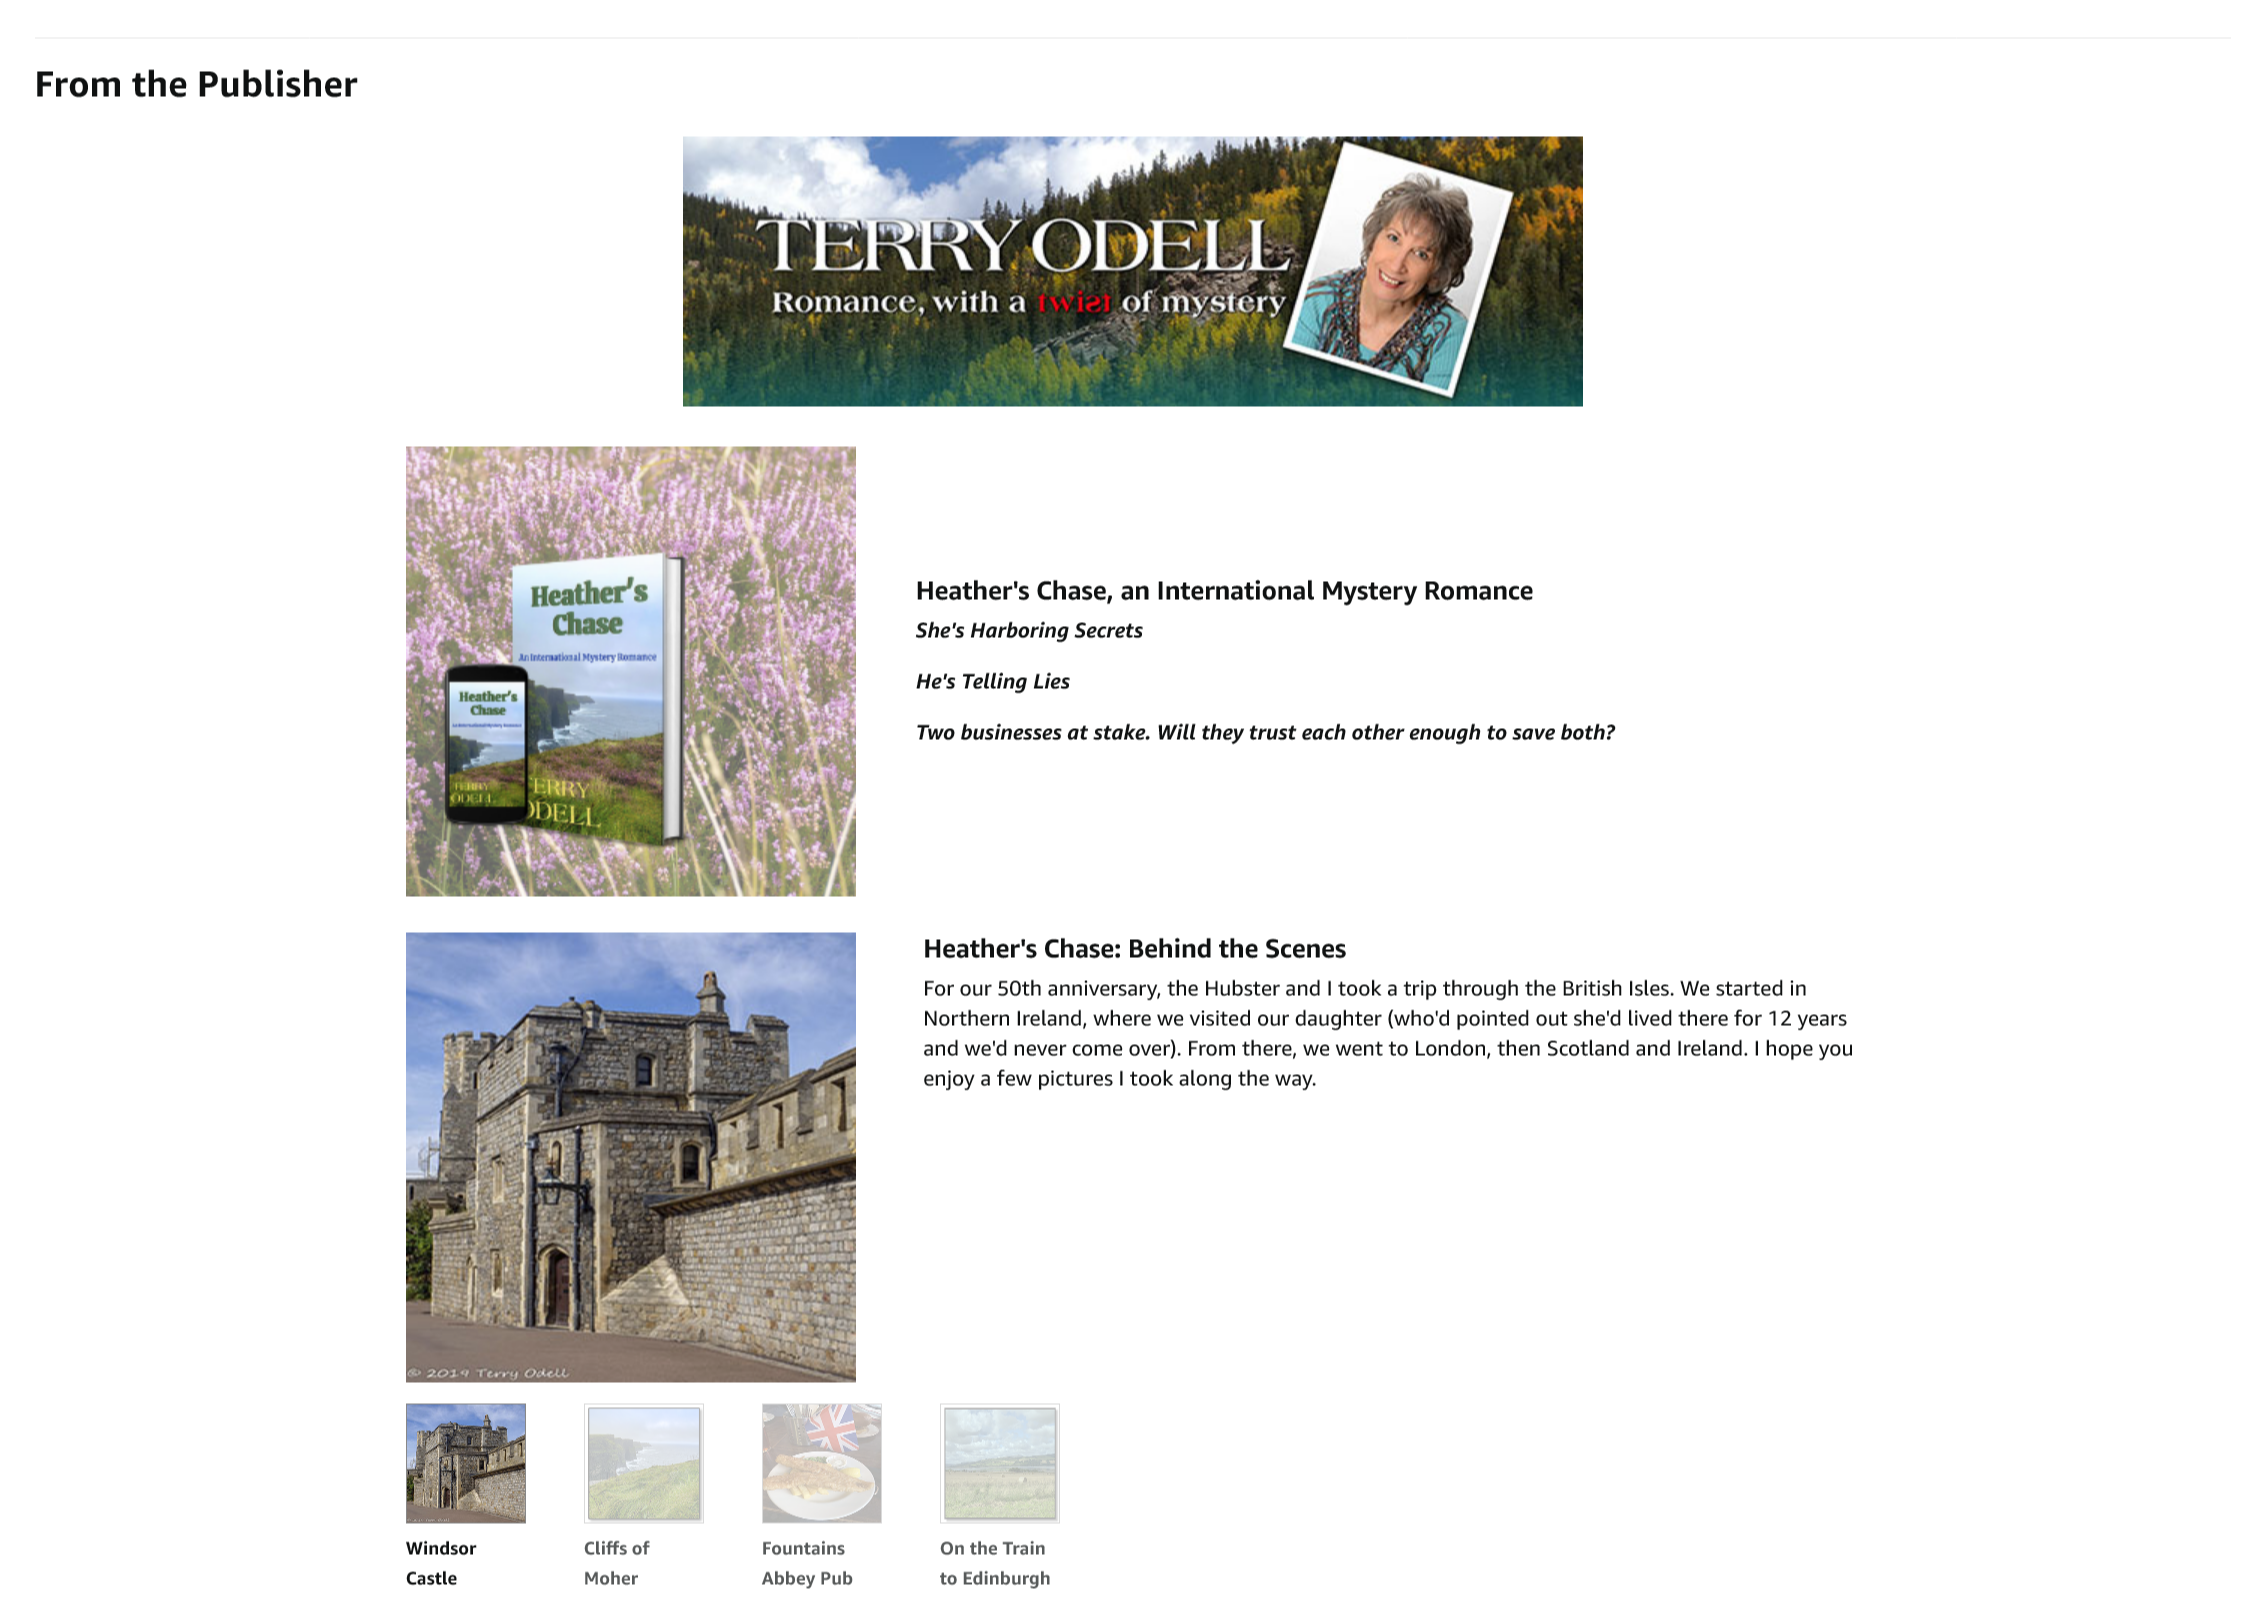
For Heather’s Chase, I used the standard company Logo, the Standard Single Left Image, and the Standard Multiple Image Module A.
What I learned. The multiples images in the last image don’t show up all at once. To see the text for each, the reader has to hover the cursor or tap.
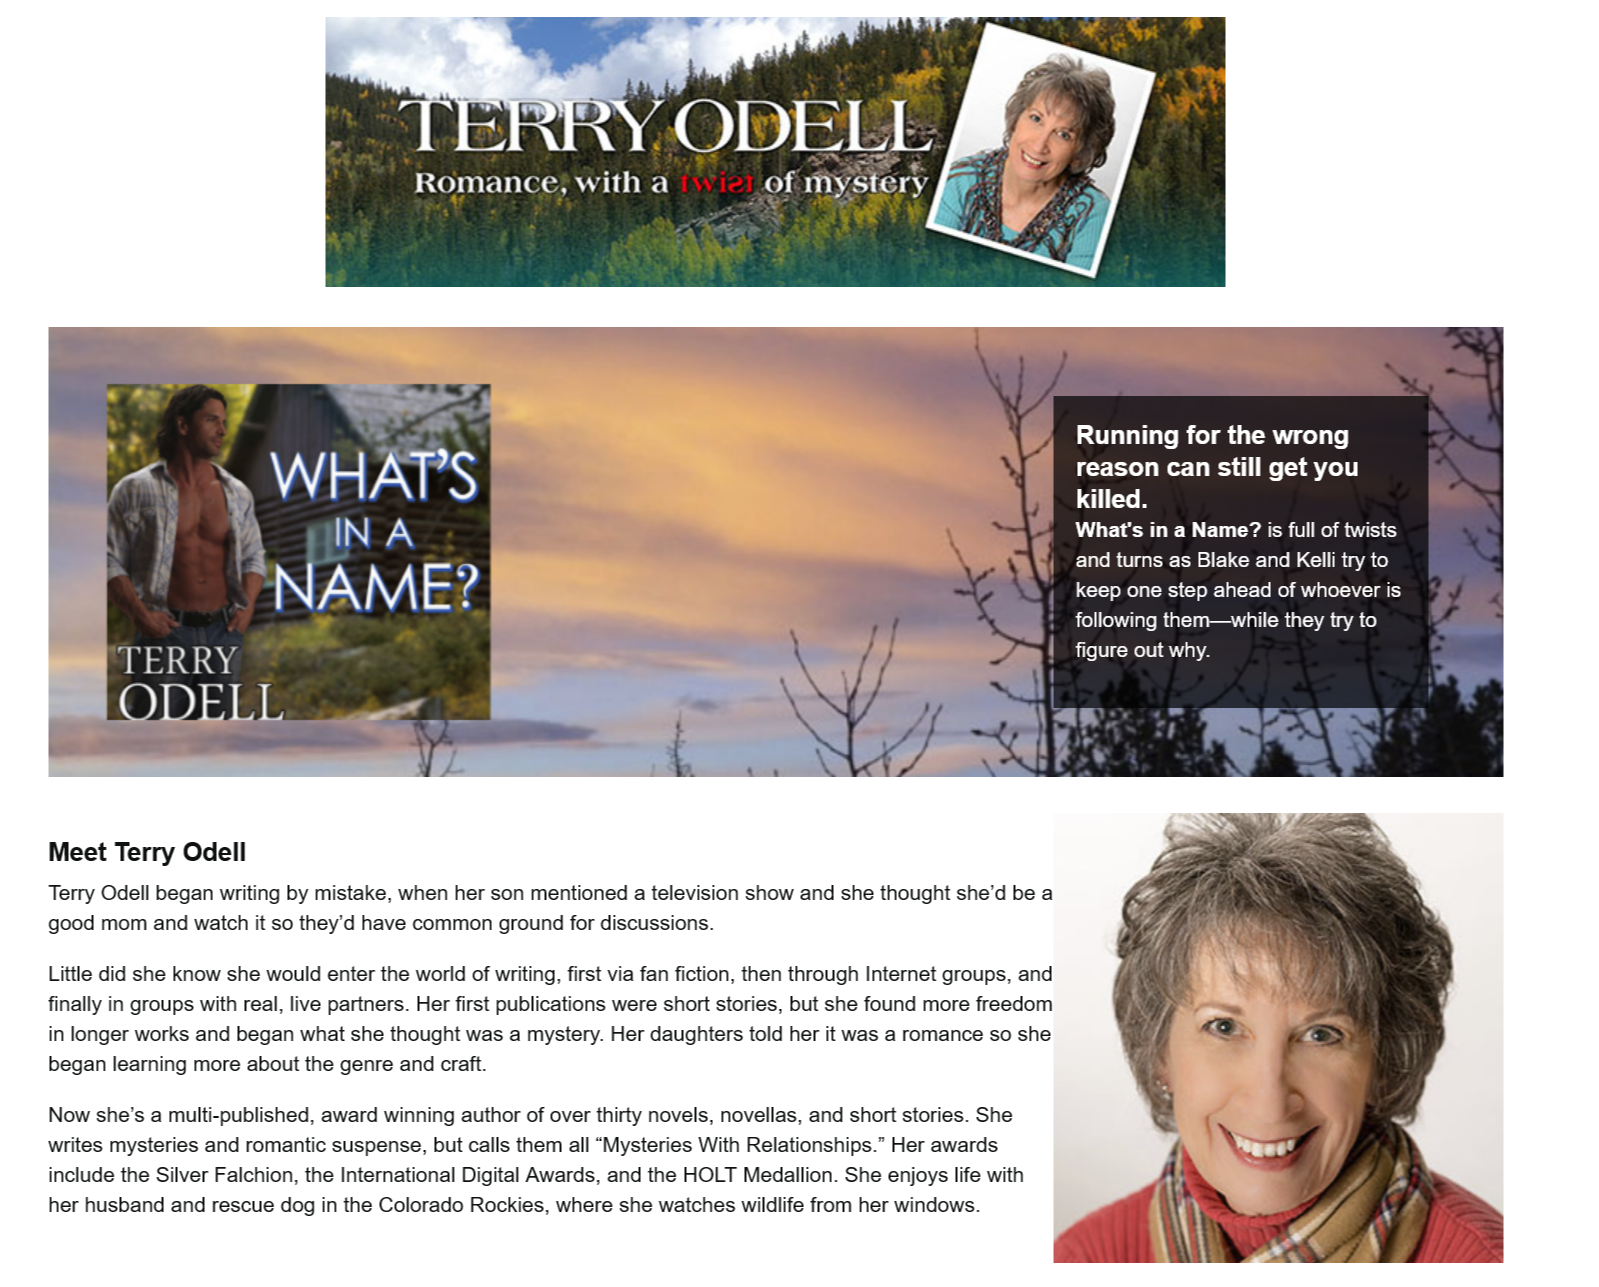
 For What’s in a Name? I used the Standard Company Logo, the “Standard Image & Dark Text Overlay, the Standard Single Left Image, and the Standard Single Right Image modules.
 How it works
When you click the “Add Module” button, you’ll see a bunch of choices, all about dogs. Not much help for genre fiction writers. Also, each module has an image size “recommendation” which means, “this is the size we accept.” Trouble is, except for the standard logo module, you don’t see sizes until you select the module. There’s not a lot of flexibility here, at least not that I found, so my advice is to use a photo editing program to size your images to the same dimensions each module allows. I use Canva or Photoshop, depending on the image I’m starting with. The aspect ratios of book covers mean you’ll have to get creative.
Using Canva, I create a template of the acceptable dimensions and work from there. This is what I did for Heather’s Chase, where the image size was 300×300. The cover image alone wouldn’t have worked, so I added the background.
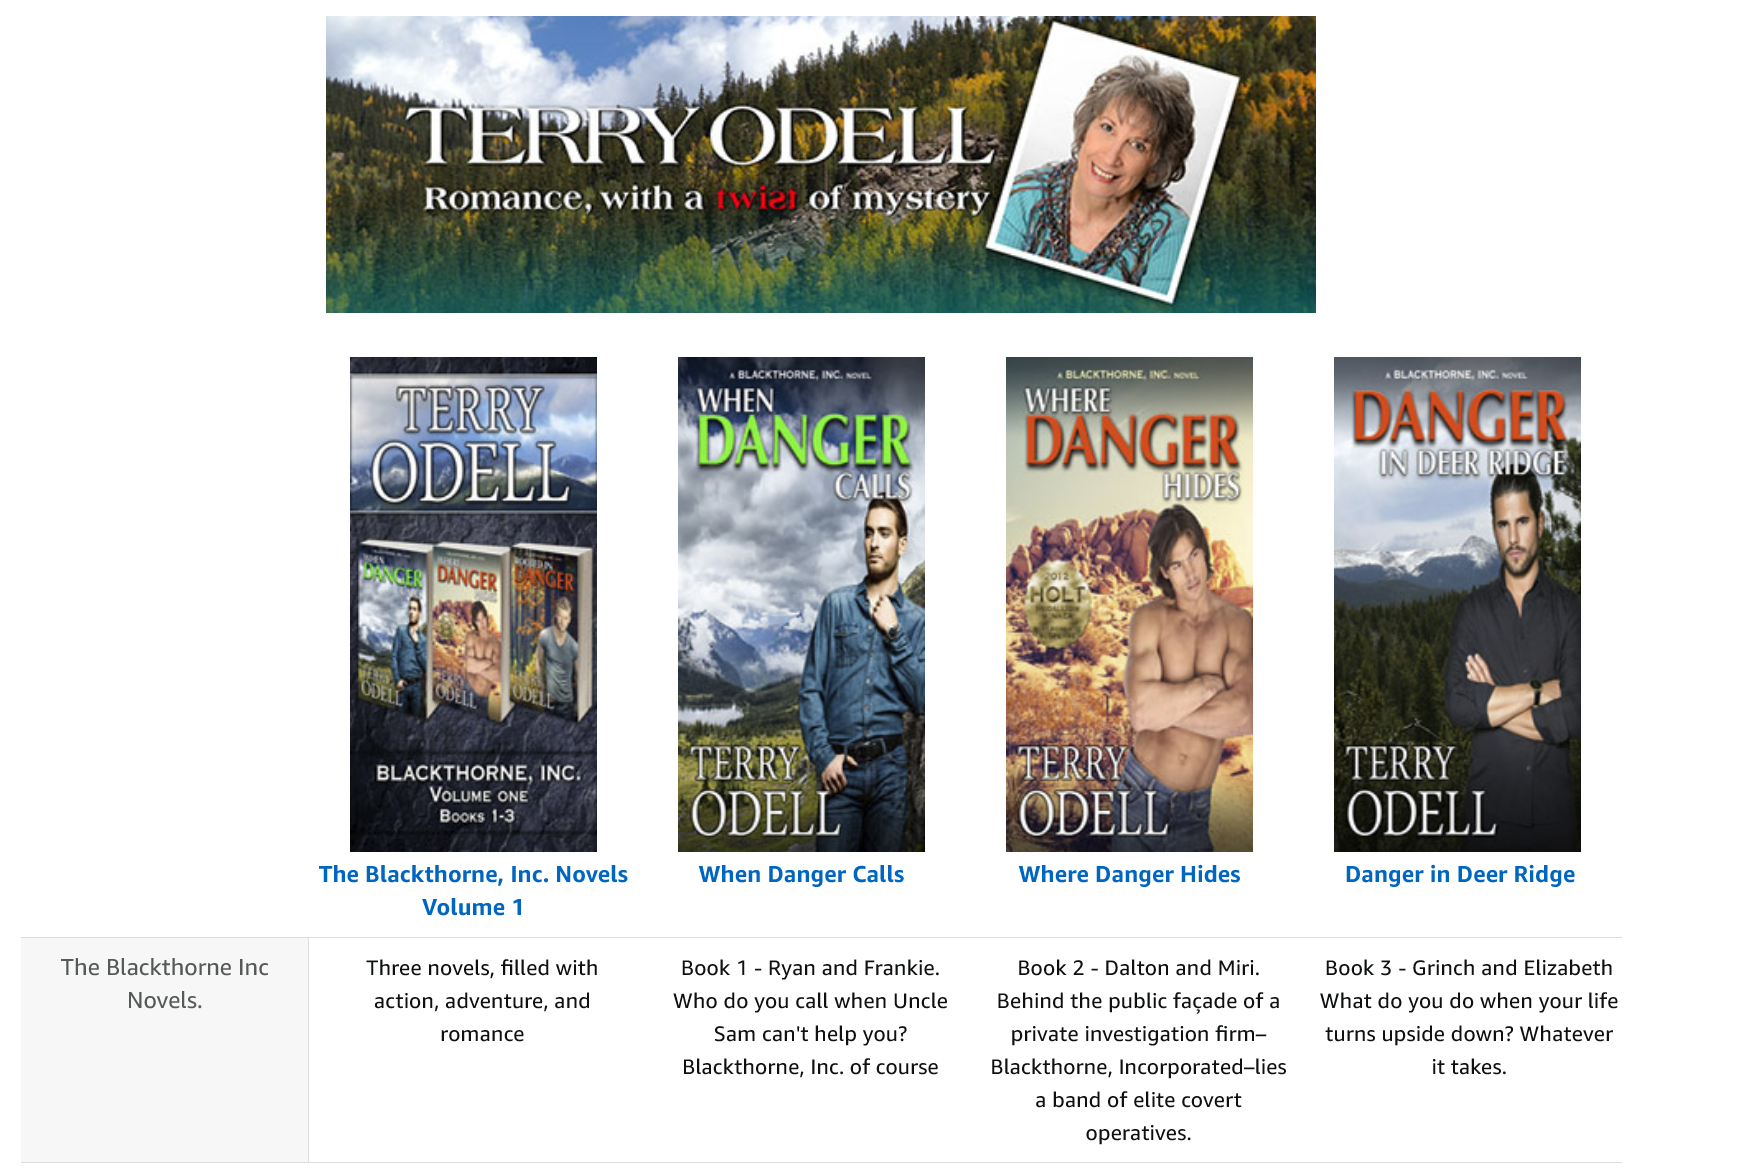
 After having my two stand alone projects approved, I decided to move on to a series. I tried to use the Amazon-suggested module for a series, thinking I’d use it on one of my box set pages. My plan was to have it show on the box set book detail page, with images and short tag lines for each of the 3 books in the set, so readers would know what was included.
My troubles: The image size template is 150×300, which creates a tall, skinny book. Since the entire book shows, I thought I could deal with it. Because I was required to include the ASIN for each image, the finished product would show up on the book detail pages for the box set AND the three novels it includes, which I didn’t want. After much discussion with KDP reps (who are still learning how all this works), I ended up abandoning that project. This is what it would have looked like, had I been able to convince the program I only wanted it to show on the box set page.
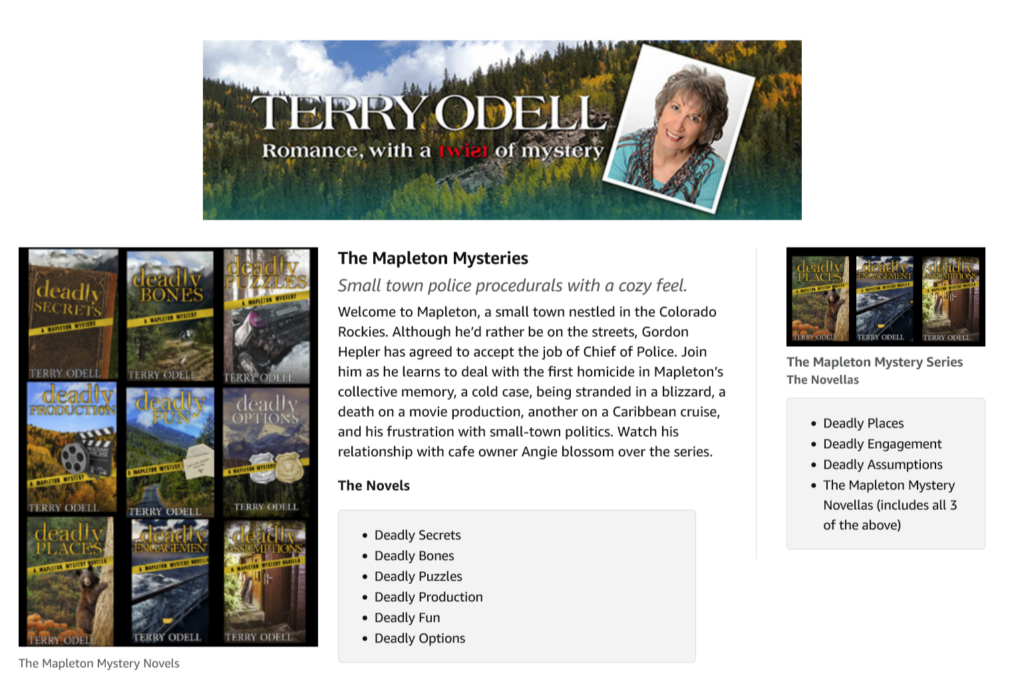
 I moved on to a different module for general information about my Mapleton mystery series, something that I could use on all the books in that series.
I chose the Standard Single Image & Sidebar module. There are two places for images in that module. One was 300×400, and the other 350×175. Again, I went to Canva for a quick way to create images with the book covers that fit those dimensions. Then, it’s a matter of plugging things in and filling the blanks.
 Other Tips

ASINs: Although the field says “search” it’s much more efficient to copy your ASIN into that box and hit “Enter.” It should bring up the book, and it’ll tell you if it’s eligible. It should be, so you click the “Assign” button.
Once you’ve done this, you can still go back and edit, but you’ll have to hit the “Assign” button again every time you want to move forward. The program remembers the ASIN, but it’s not intuitive that you need to click that button every time you want to make forward progress. You can’t jump around in the steps.
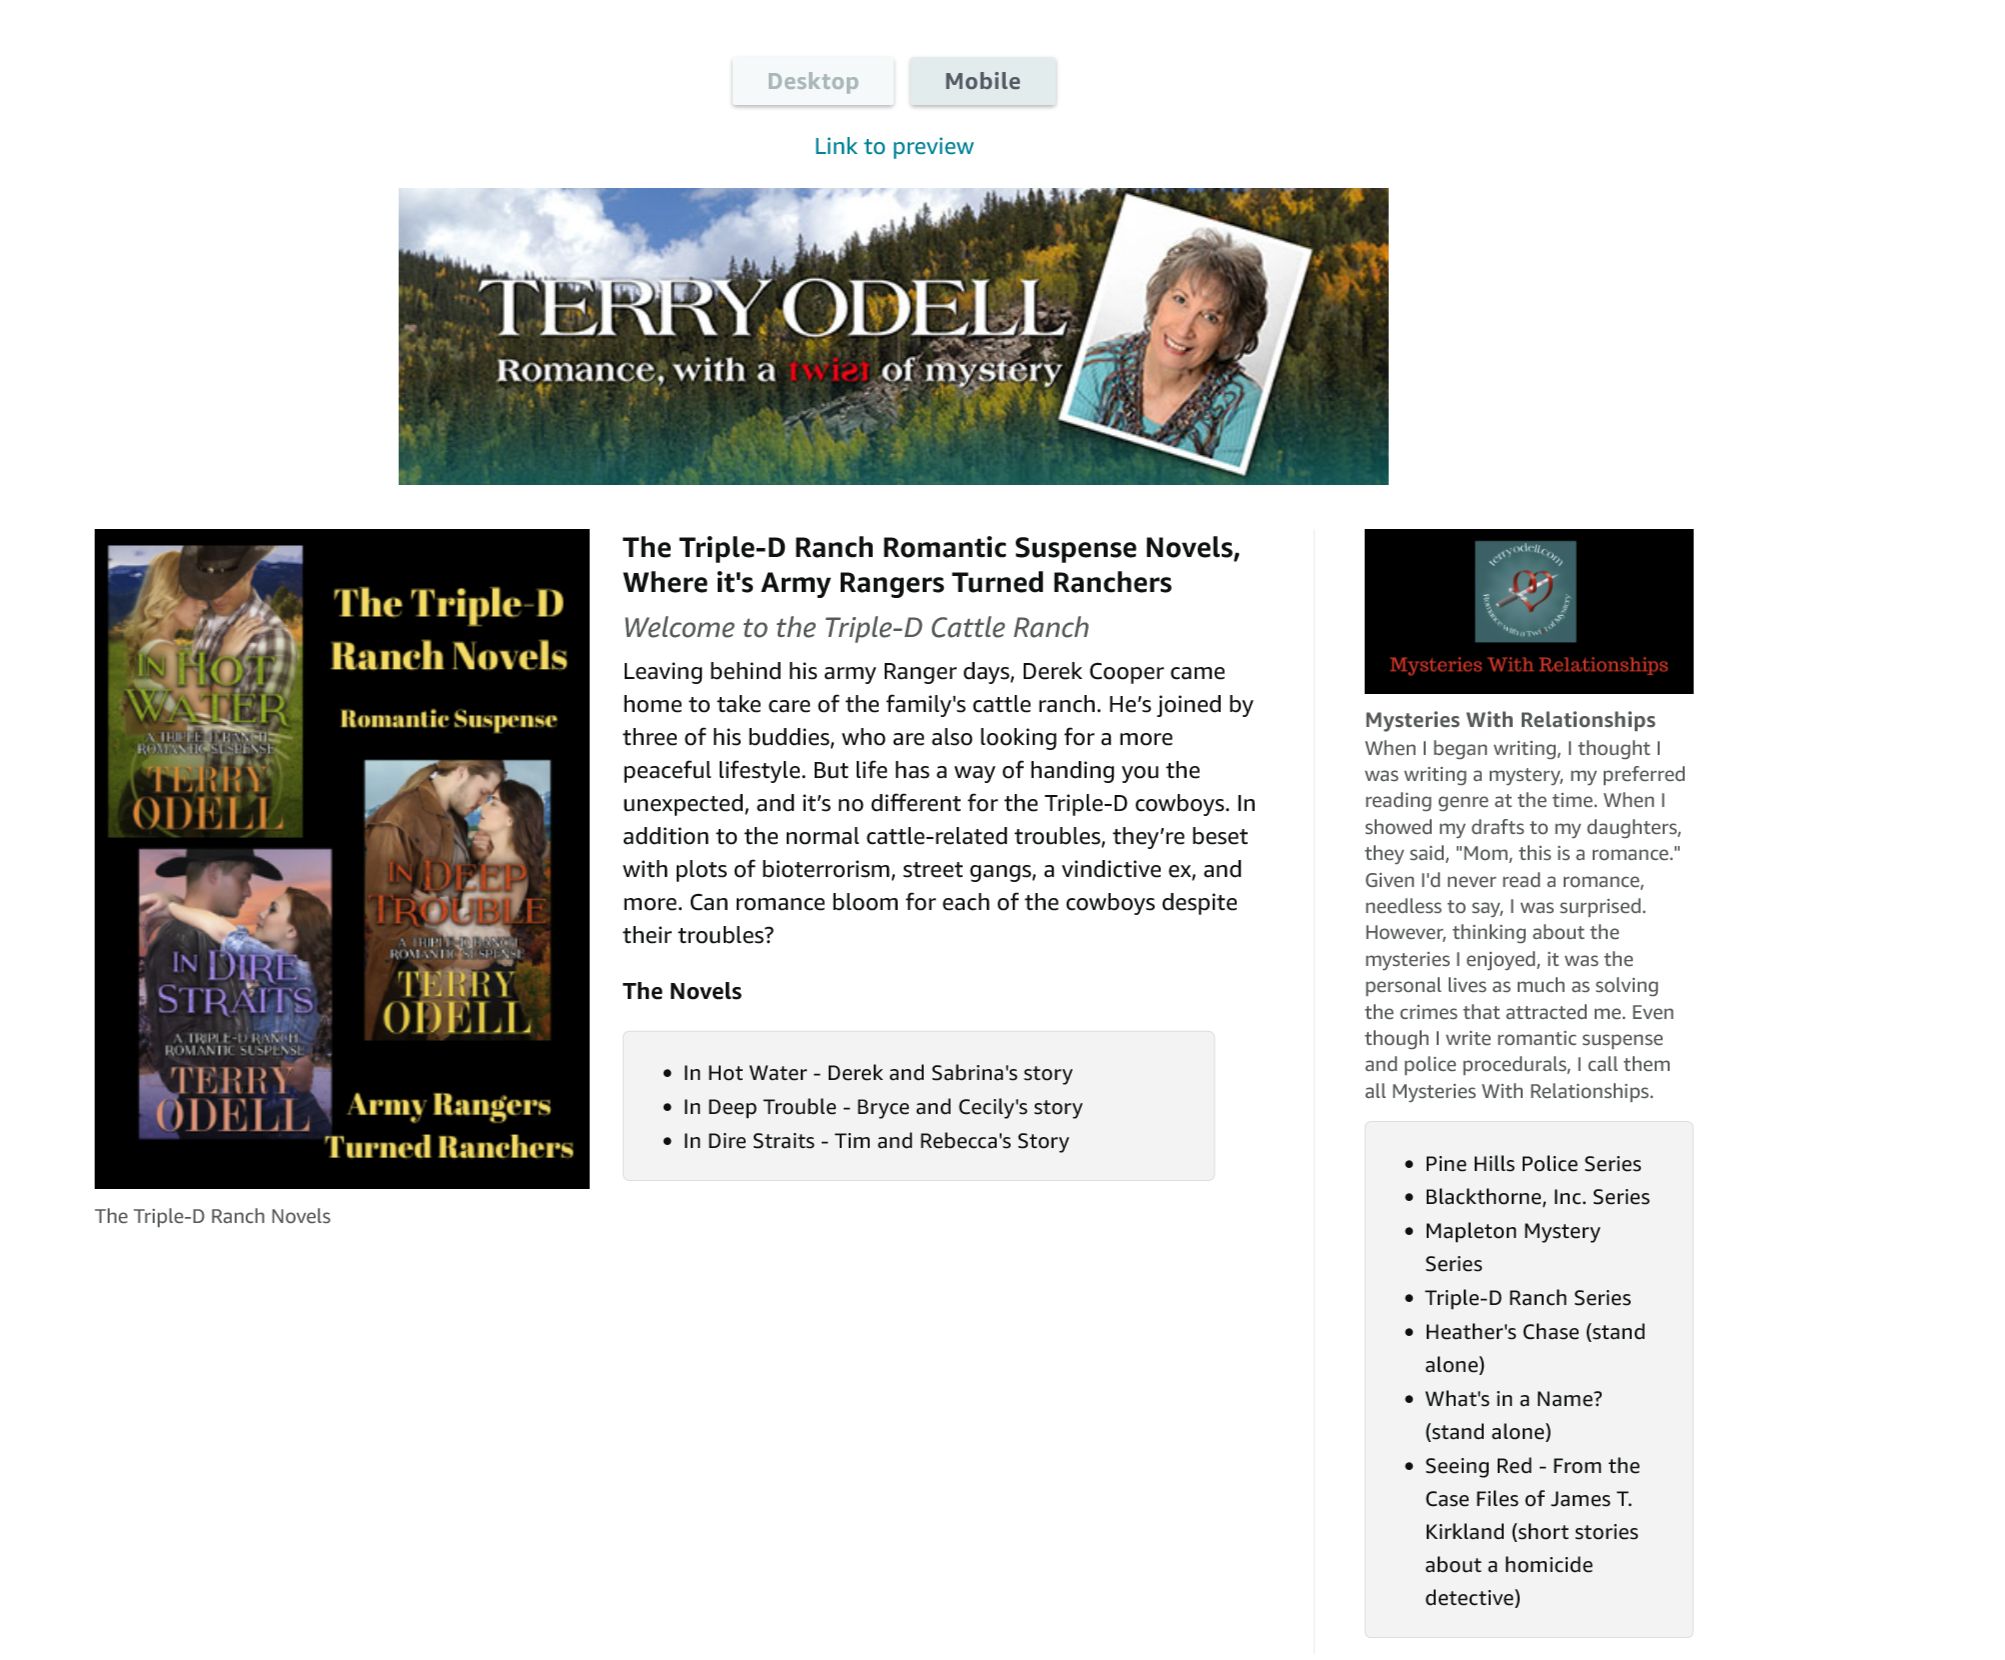
I was satisfied with my Mapleton Mystery results, and this one was approved quickly, so—what the heck?—I created one for my Triple-D Ranch series using the same format. I’m working on book 4 now, so I figured it couldn’t hurt to have something more detailed on the pages for the first 3. When Book 4 comes out, I’ll go back and edit.
 Things to note
When you add an image, you have to assign keywords. If you remove the image for any reason, the keywords disappear, too, so it’s a good idea to have them written somewhere you can copy and paste instead of retyping.
You can create the modules in any order and then use the up and down arrows to move them around.
Amazon has to approve all content, and it can take a week.
The content appears on the page under “From the Publisher” so readers have to scroll down a bit to see it, but at least it’s not the last item on the page. It should show up right after the “Also Bought” carousel.
If you want to see how it looks “in action”, you can find one here.
Overall, the editing process is cumbersome. I don’t think there’s anything I can say here that will eliminate trial and error if you want to give the content creation a go.
Once you’re satisfied, you click Review and Submit, and then wait for Amazon to give the thumbs up or thumbs down. So far, all of mine have been accepted.
Has anyone else here used A+? Have you found an easier way to do it?
To those of you observing Yom Kippur, G’mar chatima tova. And may you have an easy fast.